TIME CAPSULES


Learn how to make a time capsule about your life and the things that you like to do


Download printable activity sheet here (Coming Soon)

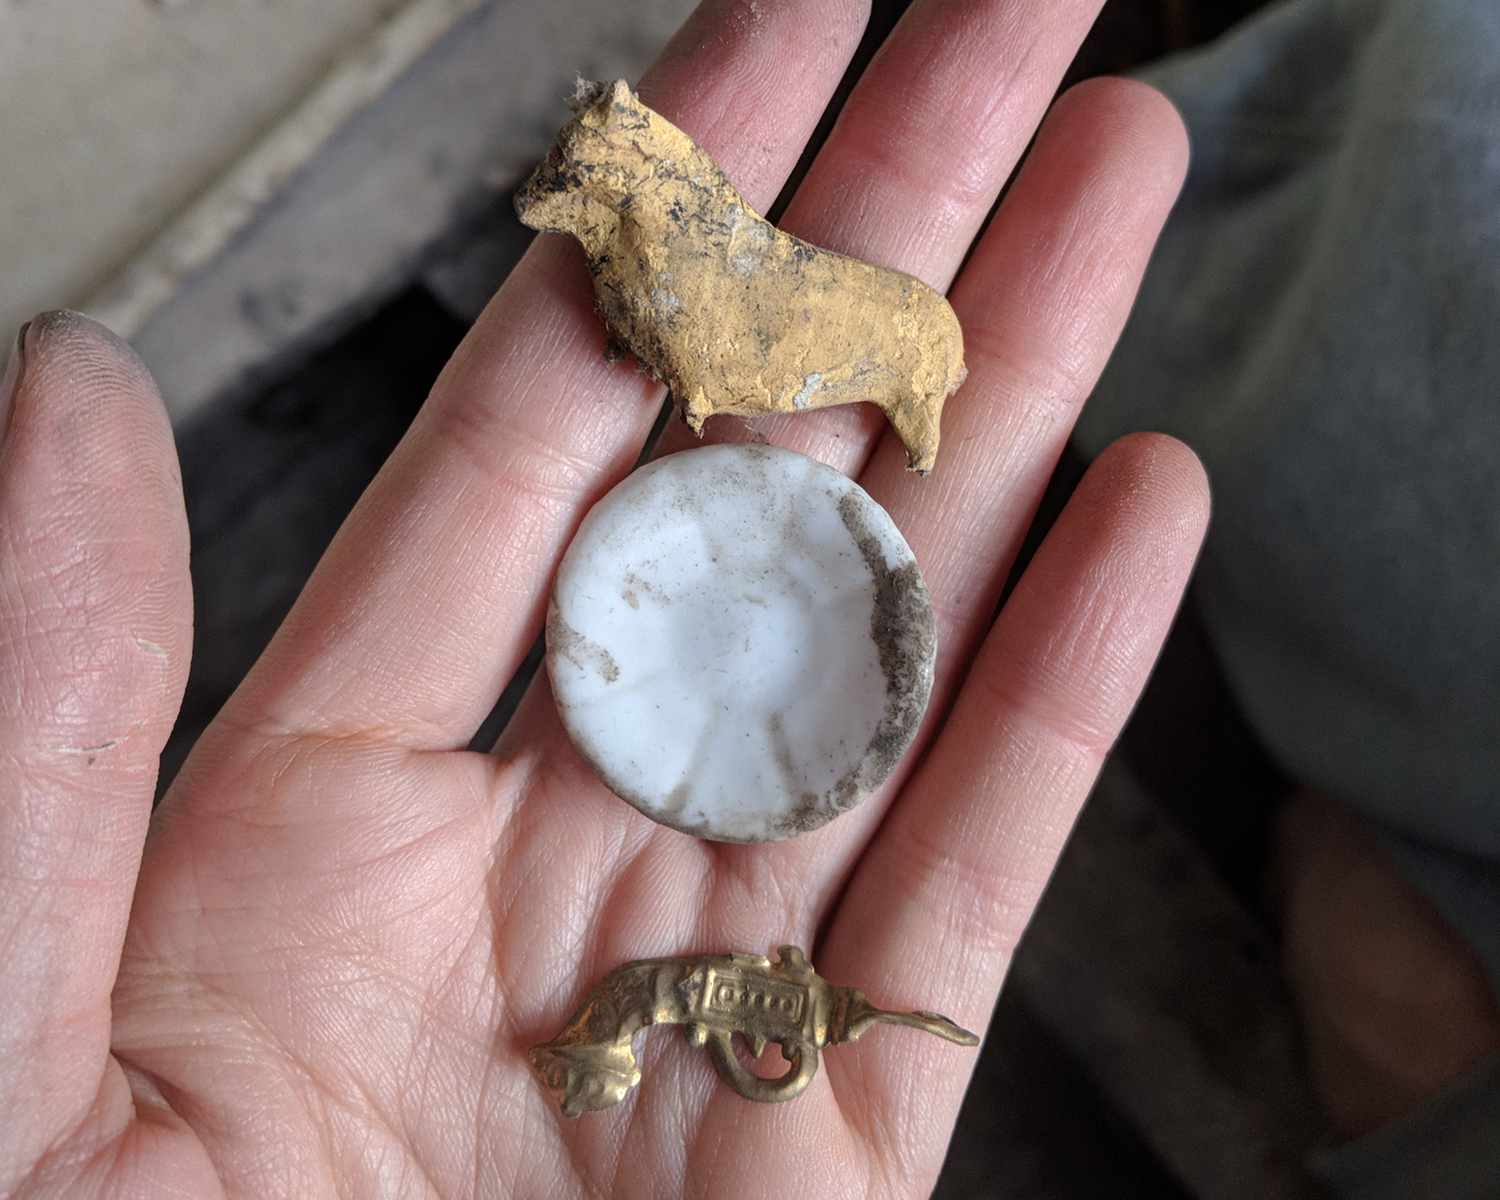
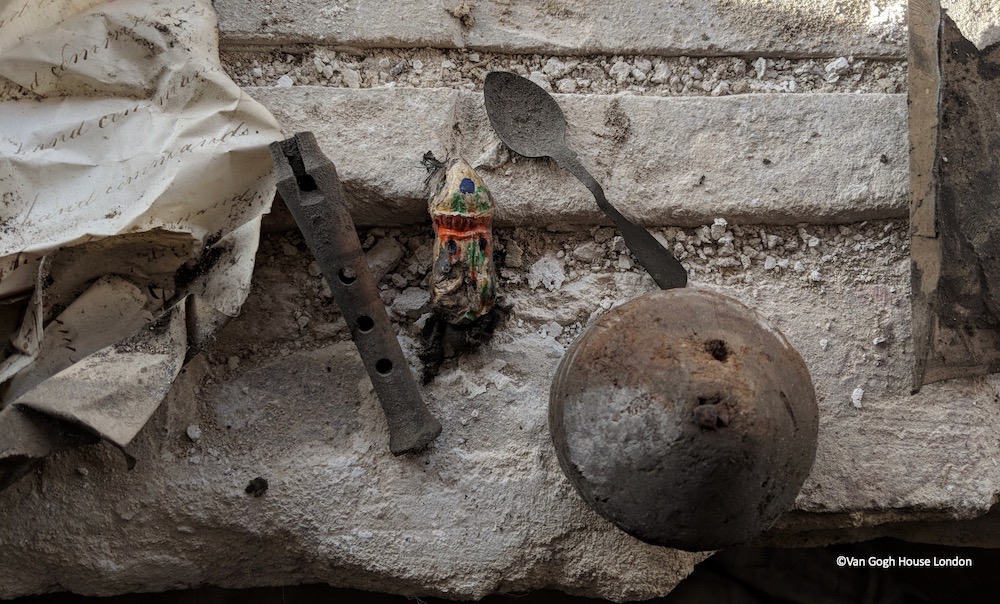
During the building work on Van Gogh House, builders uncovered this hidden stash of treasures under the floorboards in the room Van Gogh slept in. We think that theses objects were hidden there before Vincent arrived by an earlier resident,  James Wigmore. James was the oldest of five brothers, who lived in the house in the 1850s and ’60s, nearly 170 years ago!


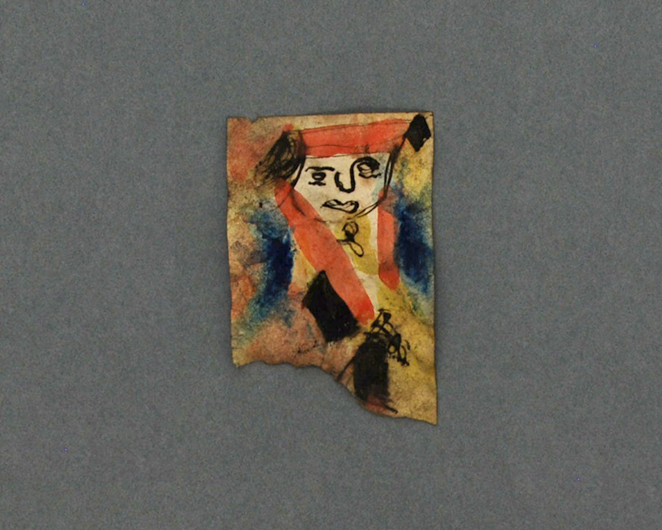
Among the objects was writing practice signed and dated by James. There were also other things in hidden there that you can see in the photo above – including wooden toys, a toy whistle and a playing card that we think James painted. We imagine that maybe he hid his favourite objects away in the space – maybe to keep them safe from his pesky younger brothers!


Uncovering James’ treasures was like uncovering a time capsule about his life. What would you hide away for people to find in 100 years time? What things are important to you? What would you like to say to a child in the future who might discover your time capsule


Share your creations with us using

#vincentstreasures via instagramtwitter

or facebook


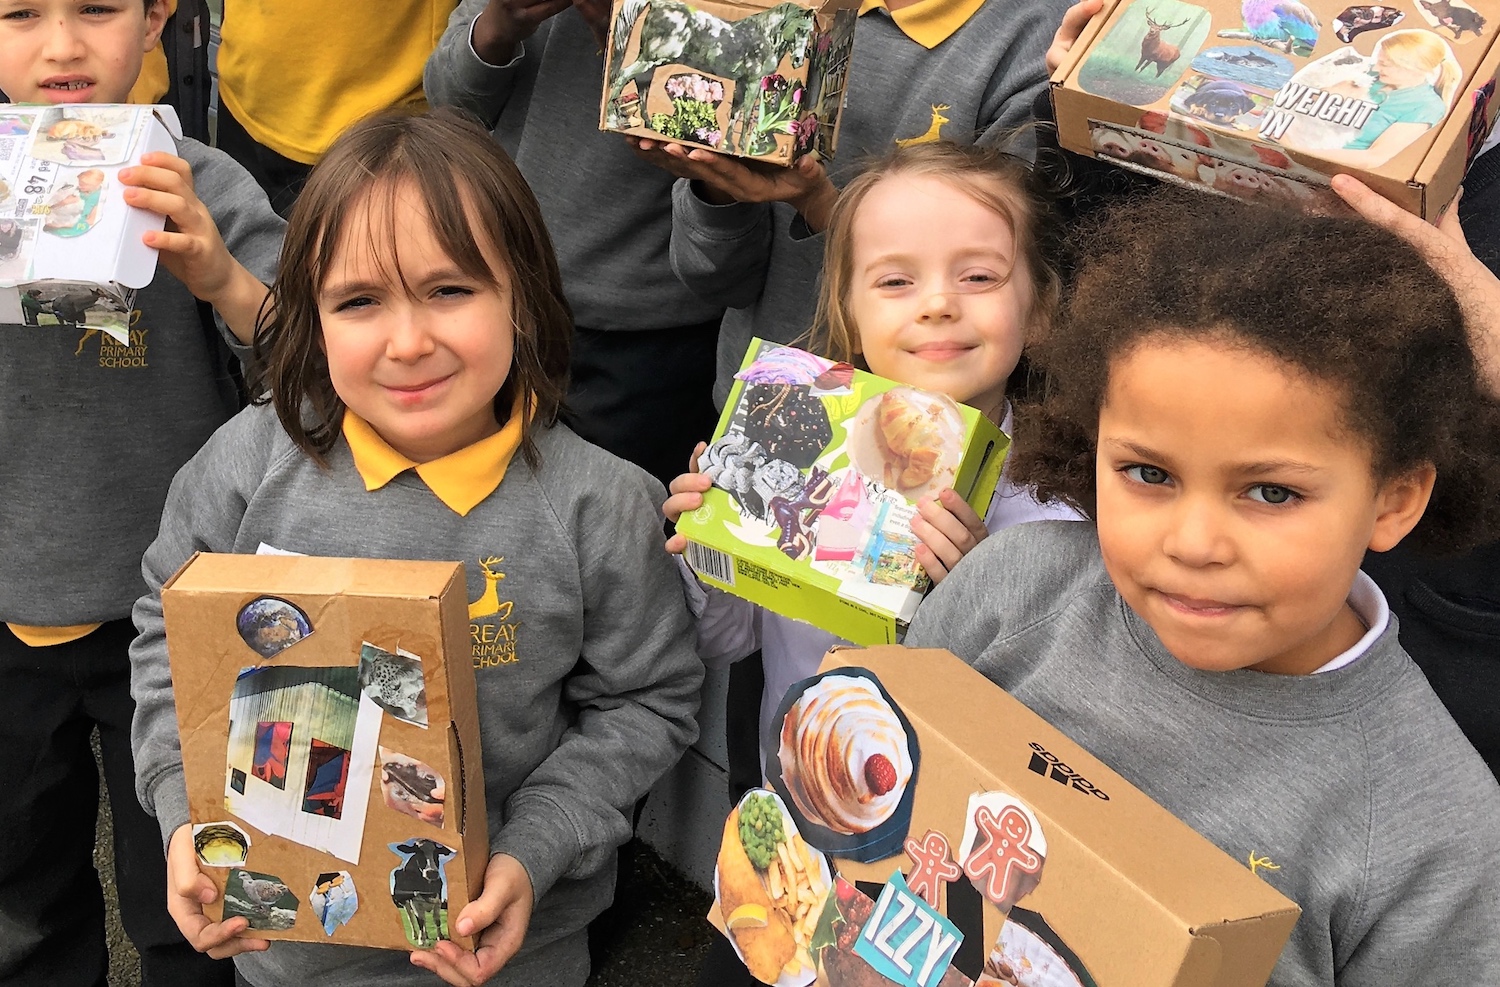
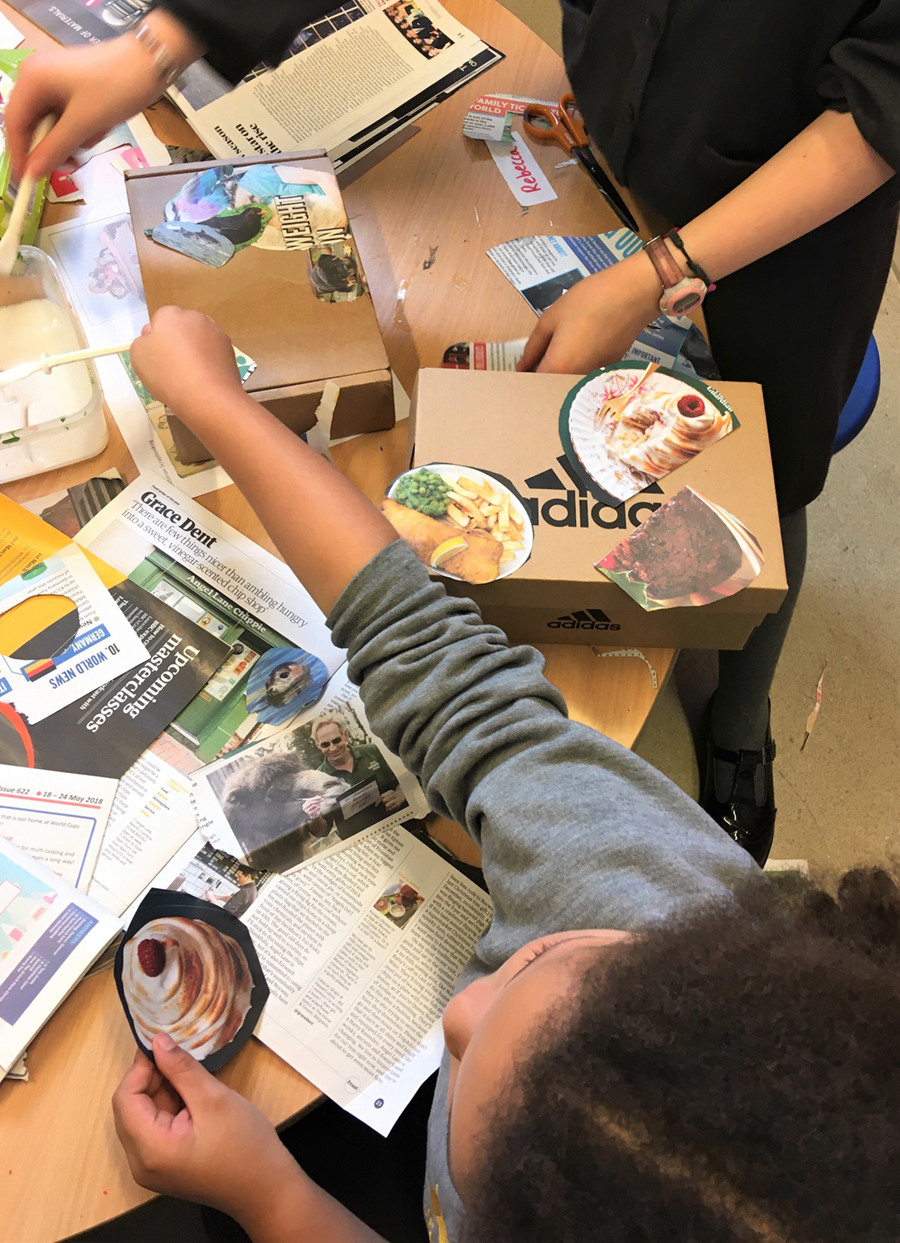
Children at Reay Primary School with their decorated time capsules!

Shoe Box Découpage

The Victorian art of ‘Scrapbooking’ was extremely popular in James Wigmore’s day.  Scrapbooking is the method of cutting out, arranging and presenting memorabilia including pictures from magazines, cards and photographs.  People often did this in books but it can also be done to decorate boxes and other items.  Another word for this is ‘découpage’.


You will need: 


  • Old shoe box or box of a similar size with a lid

  • Old magazines, newspapers, greeting cards, postcards etc. 

  • PVA glue 

  • Pot for water 

  • Medium sized paint brush


Instructions: 


  1. Take your time to look through the magazines and other collage papers that you’ve gathered together. Cut out any pictures, patterns and text that appeal to you. You might also like to pick out images that will tell future generations something about life in 2021.  

  2. Lay your cut out images onto a clean surface so that you can move them around and think about how the different pieces look together. Start with approximately 10 pieces. You can always cut out more. 

  3. Take your box and start placing your cut outs onto the lid. Once you’re happy with your design, you can start sticking them on. 

  4. Mix some PVA glue with water (1:3) and stir thoroughly with a medium sized paint brush. 

  5. Stick your first cut out piece on by gluing an area and sticking it on top. 

  6. Now, brush some more of the PVA glue/water mixture on top of the positioned piece.  You will need to hold it carefully in place and take your time to do this gently so that it remains flat.  The piece should be thinly covered all over.  Once dry, it will have a slightly varnished finish. 

  7. Now, continue with this process, adding more pieces to the lid and sides of your box to create a design of your choice.  All pieces should be thinly covered with a layer of the PVA/water mixture. 

  8. Leave your box to dry. This may take a few hours. 

Write a Postcard to Someone from the Future 

You will need:


  • Thick paper or thin card, cut to A5 or A6 size. 

  • Pencil and ruler 

  • Watercolour paints and fine brush OR you could use coloured pencils or felt tips


 Optional: 


  • An ink dipping pen (a pen for calligraphy or cartoon drawing)

  • A pot of writing or drawing ink. 


Instructions:


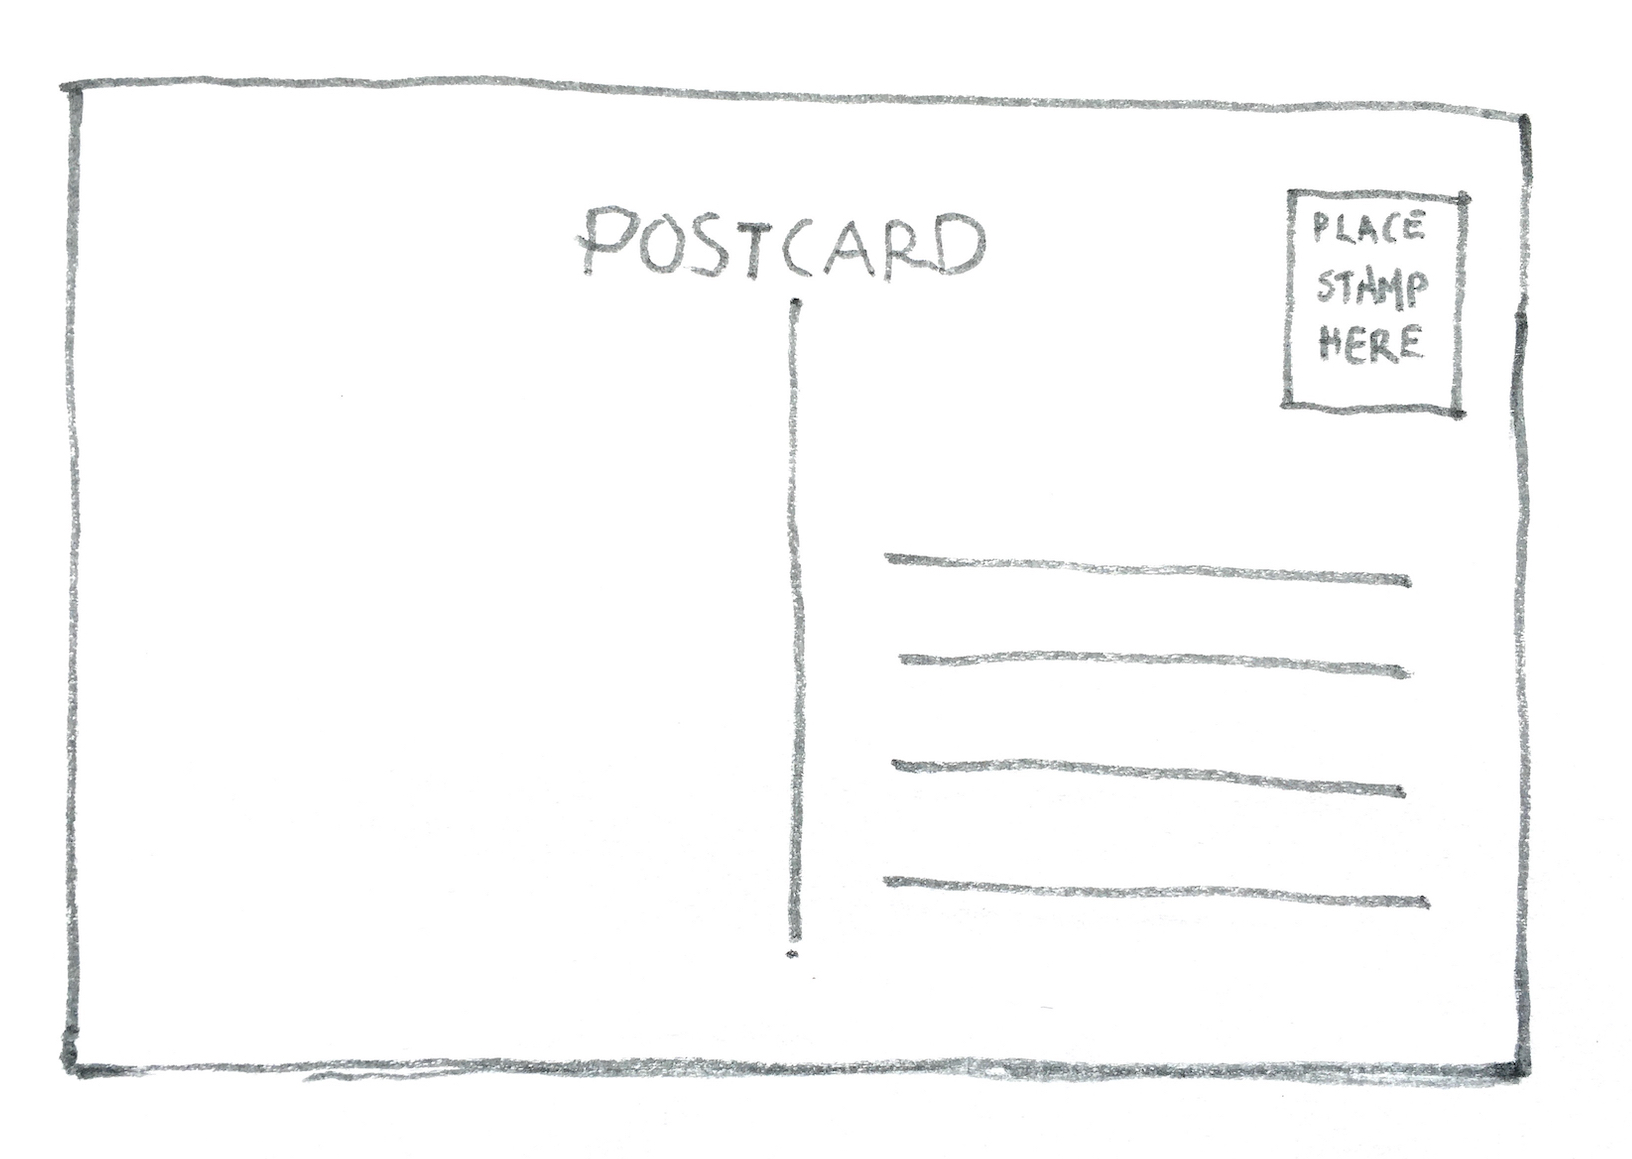
  1. Using a ruler and pencil, draw one straight line down the middle of one side of your postcard. Draw lines for an address and design your own stamp. You might like to draw the Queen’s head or someone else who you think deserves to have their head on a stamp in 2021. 

  2. The aim of the postcard is simple; to introduce yourself to whoever finds your time capsule in the future. You may think that your life is pretty ordinary but to future generations it could be truly fascinating!  

  3. Give some thought as to what you’d like to include. Here are some suggestions: Your name and age. Where do you live? Who do you live with? What do you enjoy doing? What are your hopes and concerns for the future? 

  4. If you have an ink dipping pen, then have a go at writing your postcard in the style of James Wigmore (see ‘Handwriting Practice’ below).  Otherwise, a pencil is fine.  

  5. How will you address your postcard? Perhaps to ‘Whoever should find this’ or ‘The Future’… 

  6. On the front of your postcard, take your time to create a beautiful painting or drawing of yourself, your family or something else that you wrote about. 

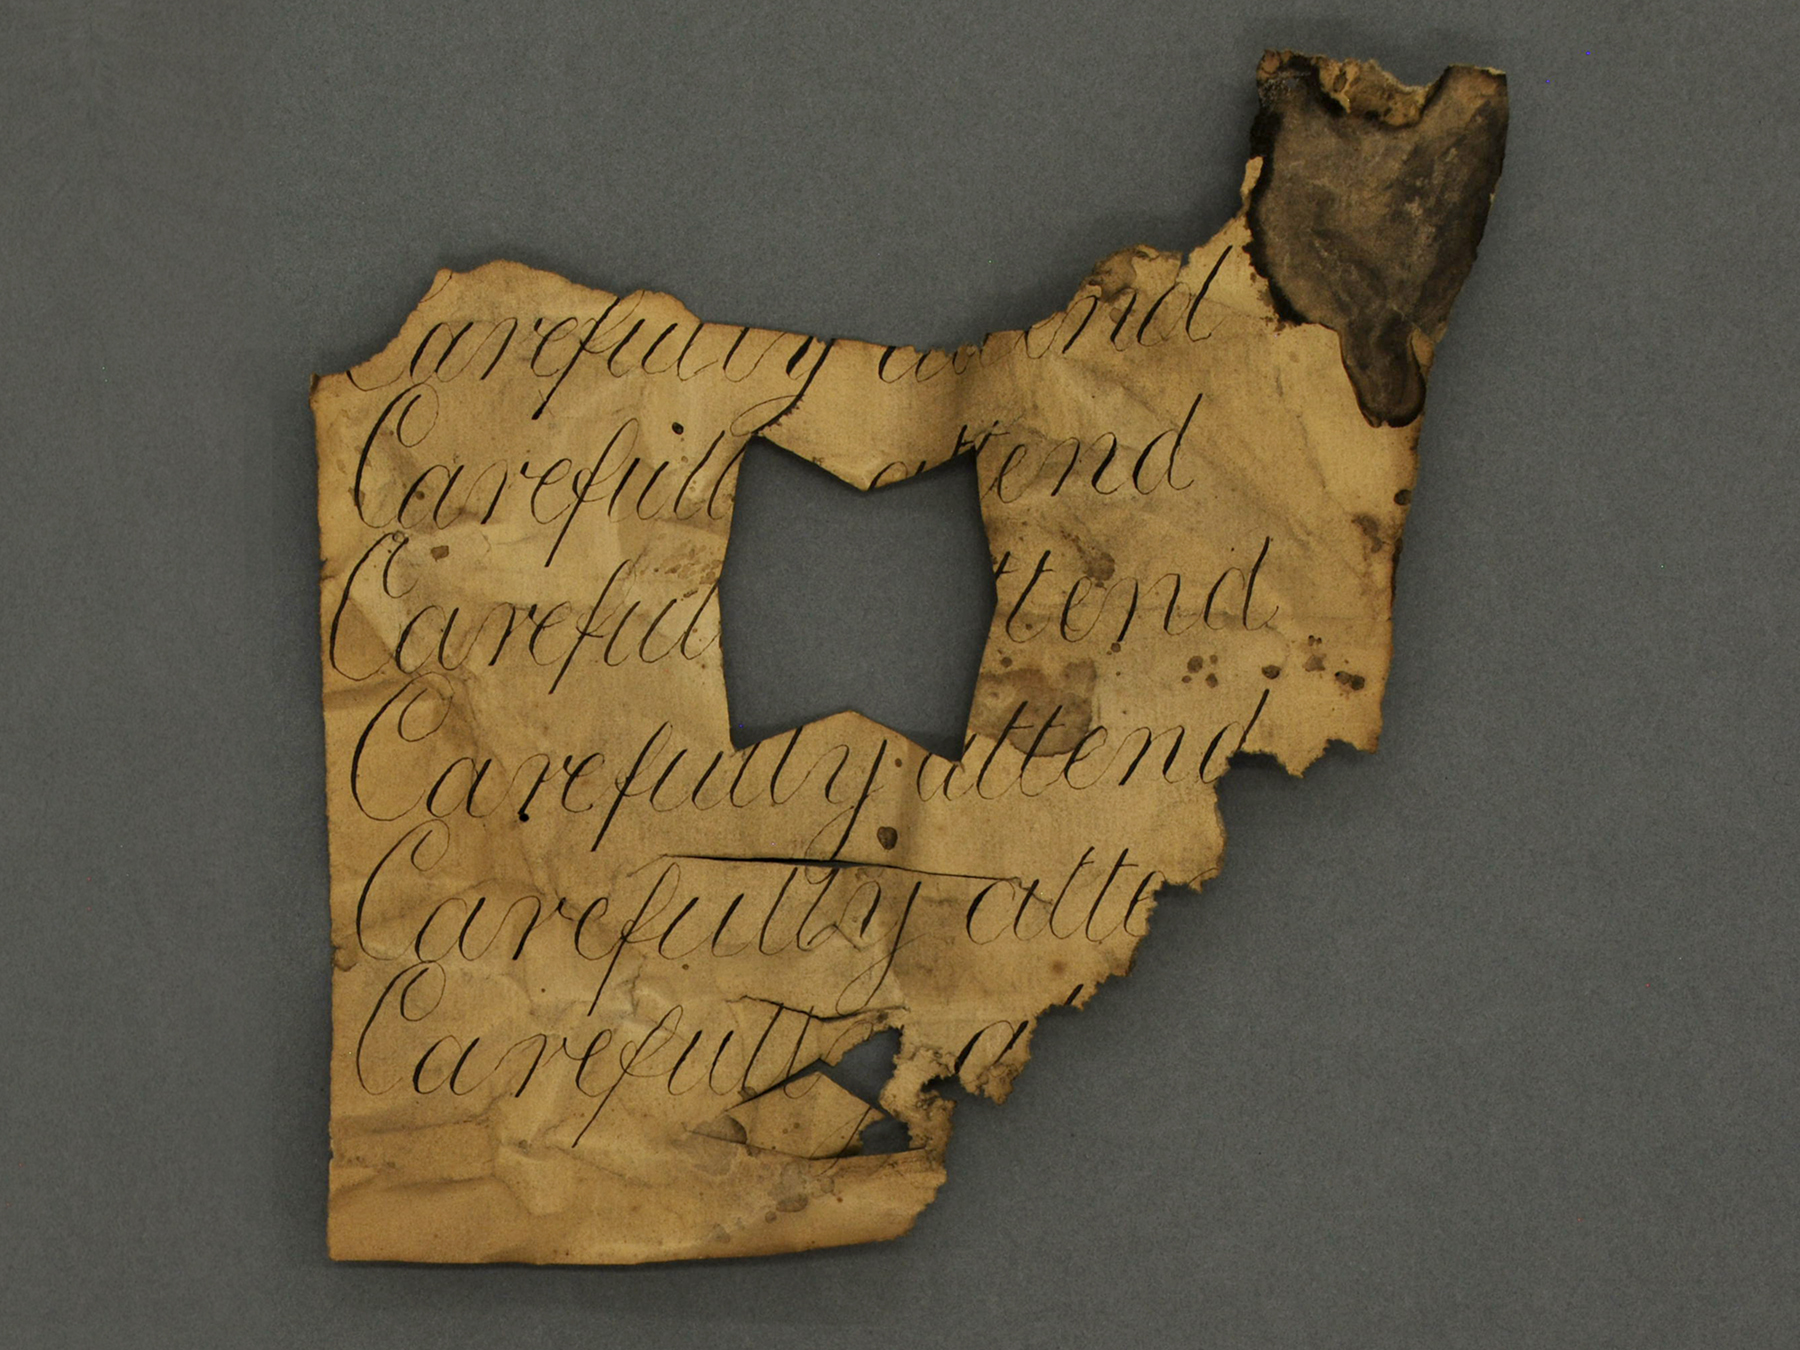
James Wigmore's writing practice, reading 'Carefully Attend' and dated to 1859. Conserved by MA students at Camberwell College of Art © Van Gogh House London

Handwriting Practice, James Wigmore style

You will need: 


  • A4 paper 

  • Line guide 

  • Paper clips x 2

  • An ink dip pen

  • A pot of writing or drawing ink. 

  • Kitchen roll or tissue. 


Choose an inspirational saying:


James Wigmore practiced his handwriting by writing out inspirational sayings repeatedly, such as ‘Embrace every opportunity for acquiring knowledge’. 


Can you think of a modern day saying or quote that you would like to pass onto to future generations? If you’re stuck for ideas, here are a few to choose from:


‘What would life be if we hadn’t courage to attempt anything?’

Vincent van Gogh


‘Take only memories, leave only footprints.’

Chief Seattle


 ‘You must be the change you wish to see in the world.’

Mahatma Gandhi


 ‘Don’t count the days, make the days count.’

Muhammad Ali


‘I can be changed by what happens to me, but I refuse to be reduced by it.’

Maya Angelou


‘Champions keep playing until they get it right.’

Billie Jean King


Instructions:


  1. Using pen and ink can take some getting used to so to begin with have a go at making some simple marks on scrap paper.  

  2. When you dip the nib into the ink it should only cover the hole in the nib.  If you dip it in too far, things can get very messy! Use a piece of kitchen roll or a tissue to soak up excess ink. 

  3. Now, holding the pen at a 45° angle to the paper, make some simple marks such as short, straight lines and curves. Experiment with applying different amounts of pressure on the pen but don’t press too hard as this will damage the pen. 

  4. Once you have got used to the pen, have a go at writing your name. 

  5. Once you are ready to begin your handwriting practice, take a piece of A4 paper and attach it to your line guide with two paperclips at the top.

  6. Now you can begin your handwriting practice! Take your time and don’t forget to have your kitchen roll or tissue close at hand to mop up any excess ink.  Good luck!

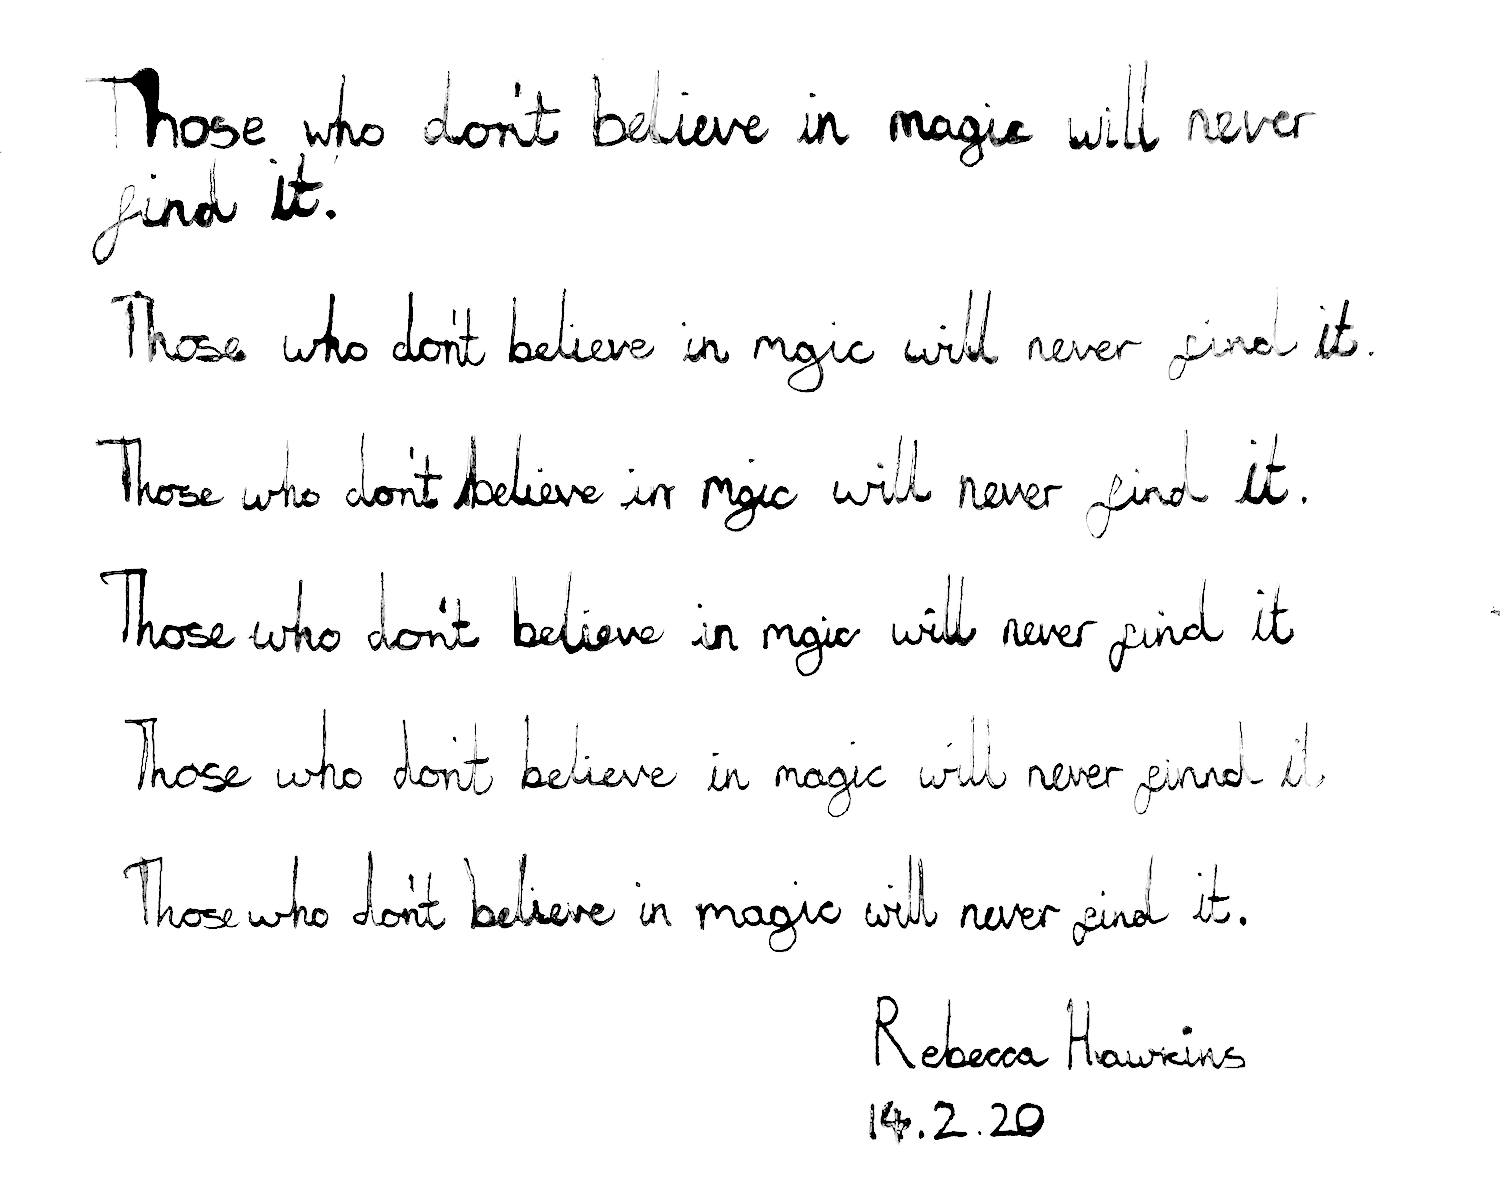
Rebecca copied out a Roald Dahl quote! Can you tell how her handwriting gets better and better as she practices?
James Wigmore's hand made playing card, found with his toyrs and handwriting. Conserved by MA students at Camberwell College of Art © Van Gogh House London

Paper Games

Card games were a very popular form of entertainment in Victorian times. James Wigmore even painted his own tiny playing cards. What simple and popular modern day games could you make for future generations to enjoy?  


Perhaps you could draw illustrated instructions for how to play Rock, Paper, Scissors? Alternatively, you might like to make a paper aeroplane or paper fortune teller. 

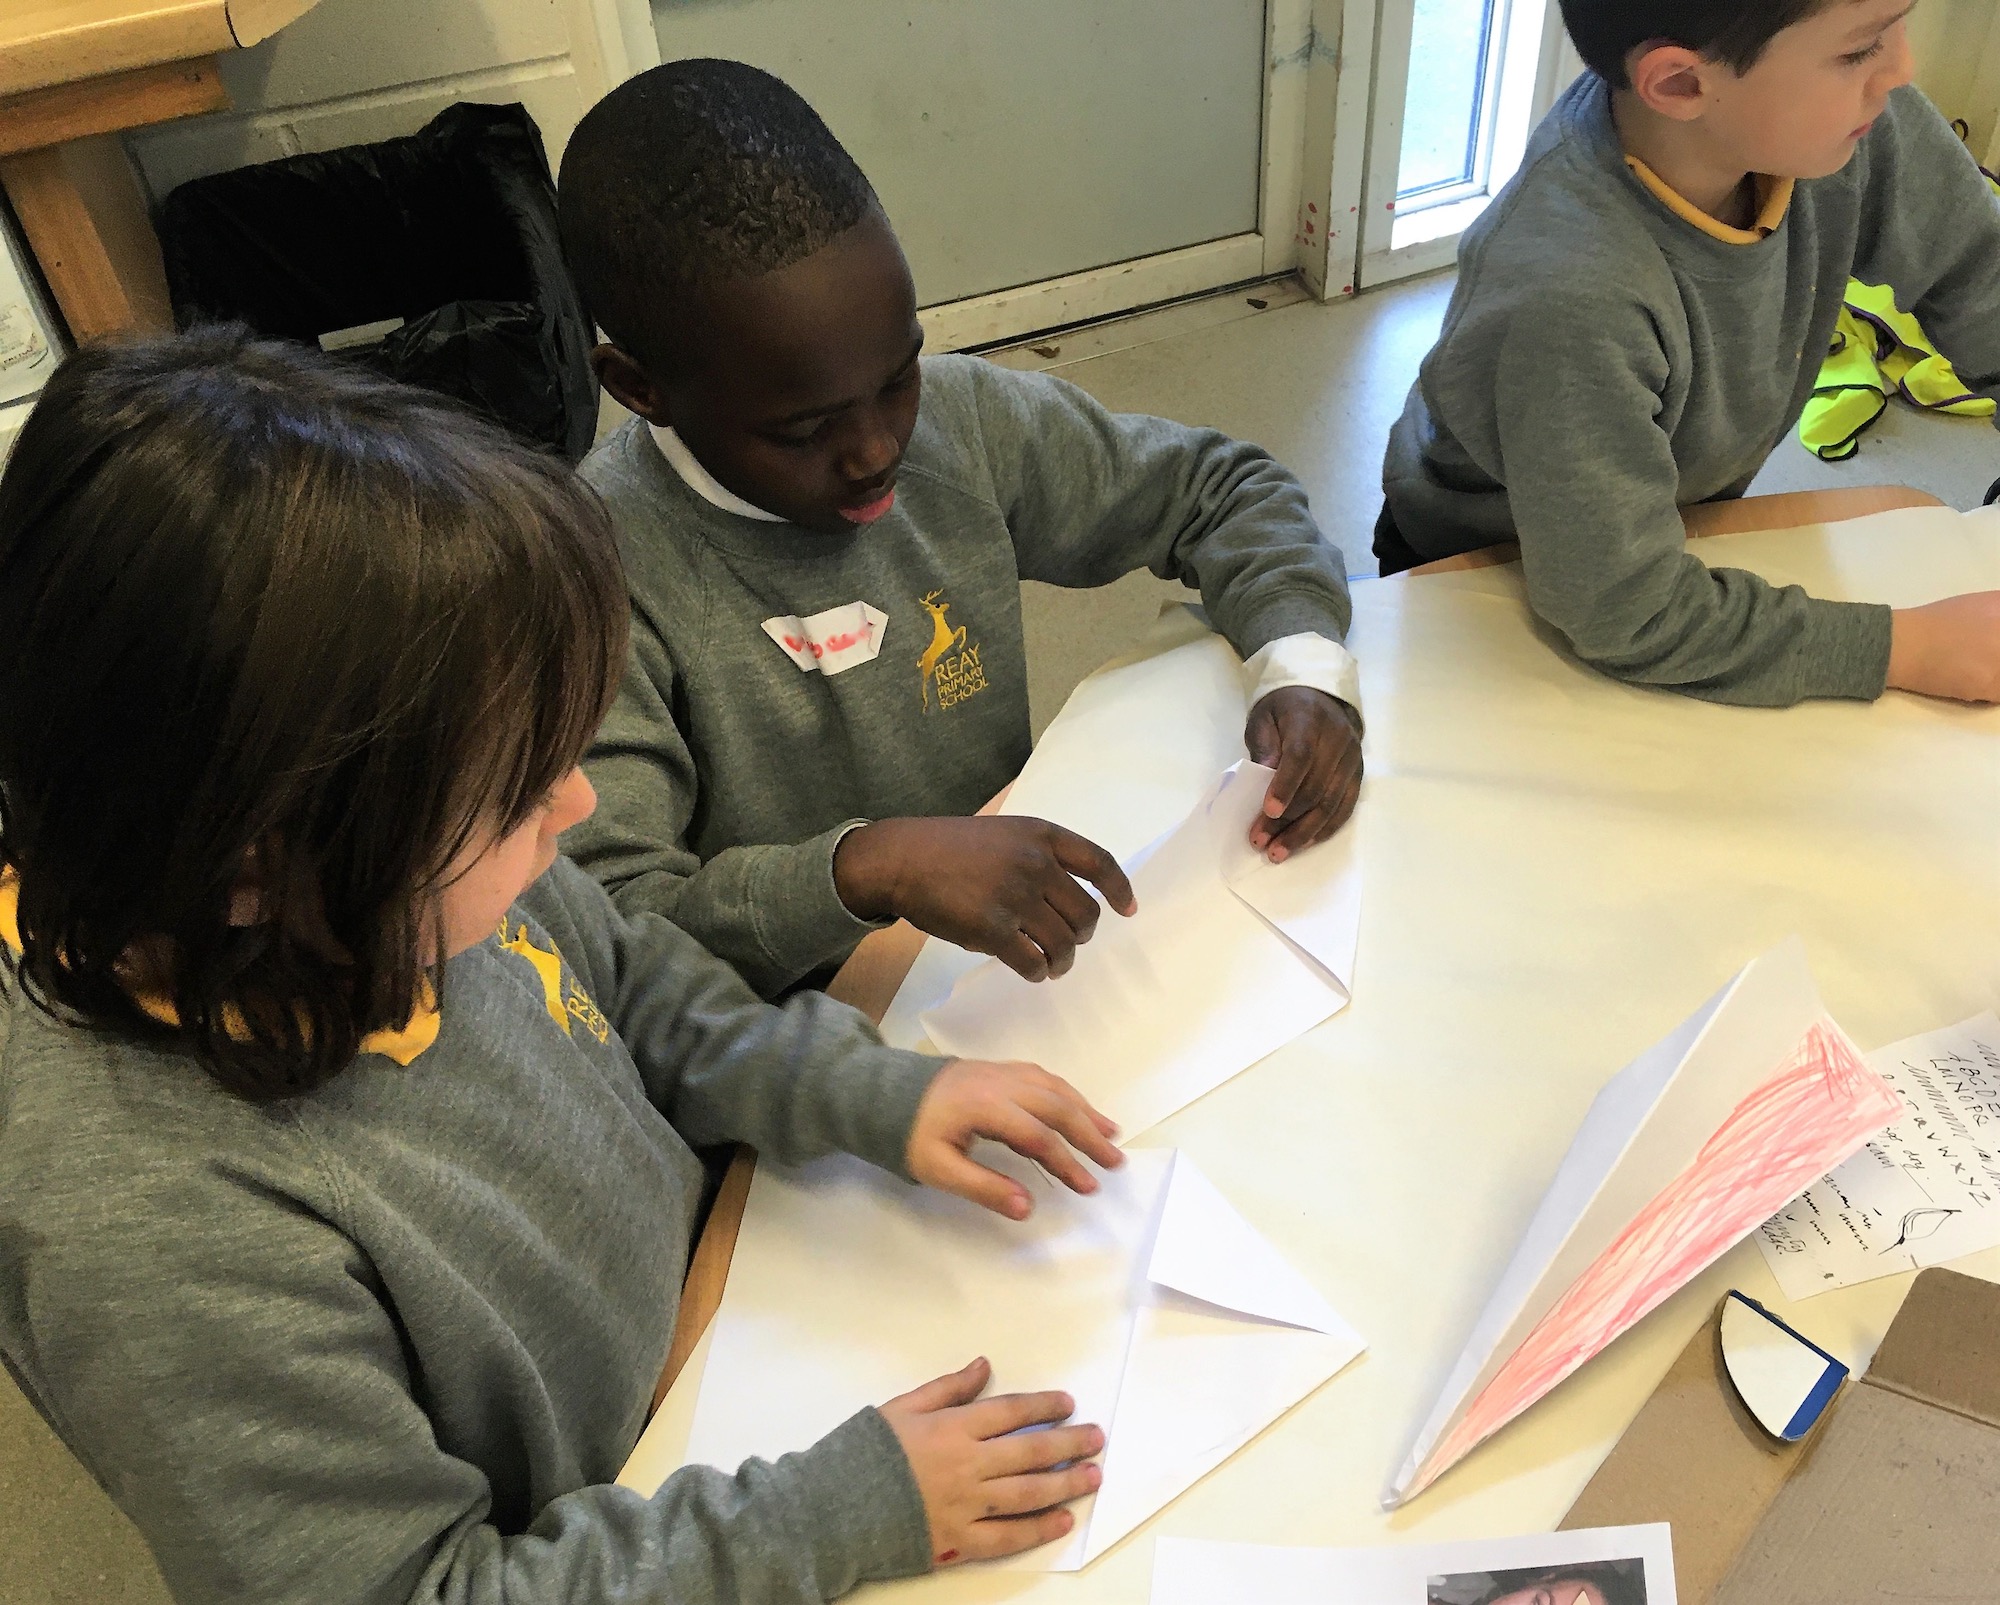
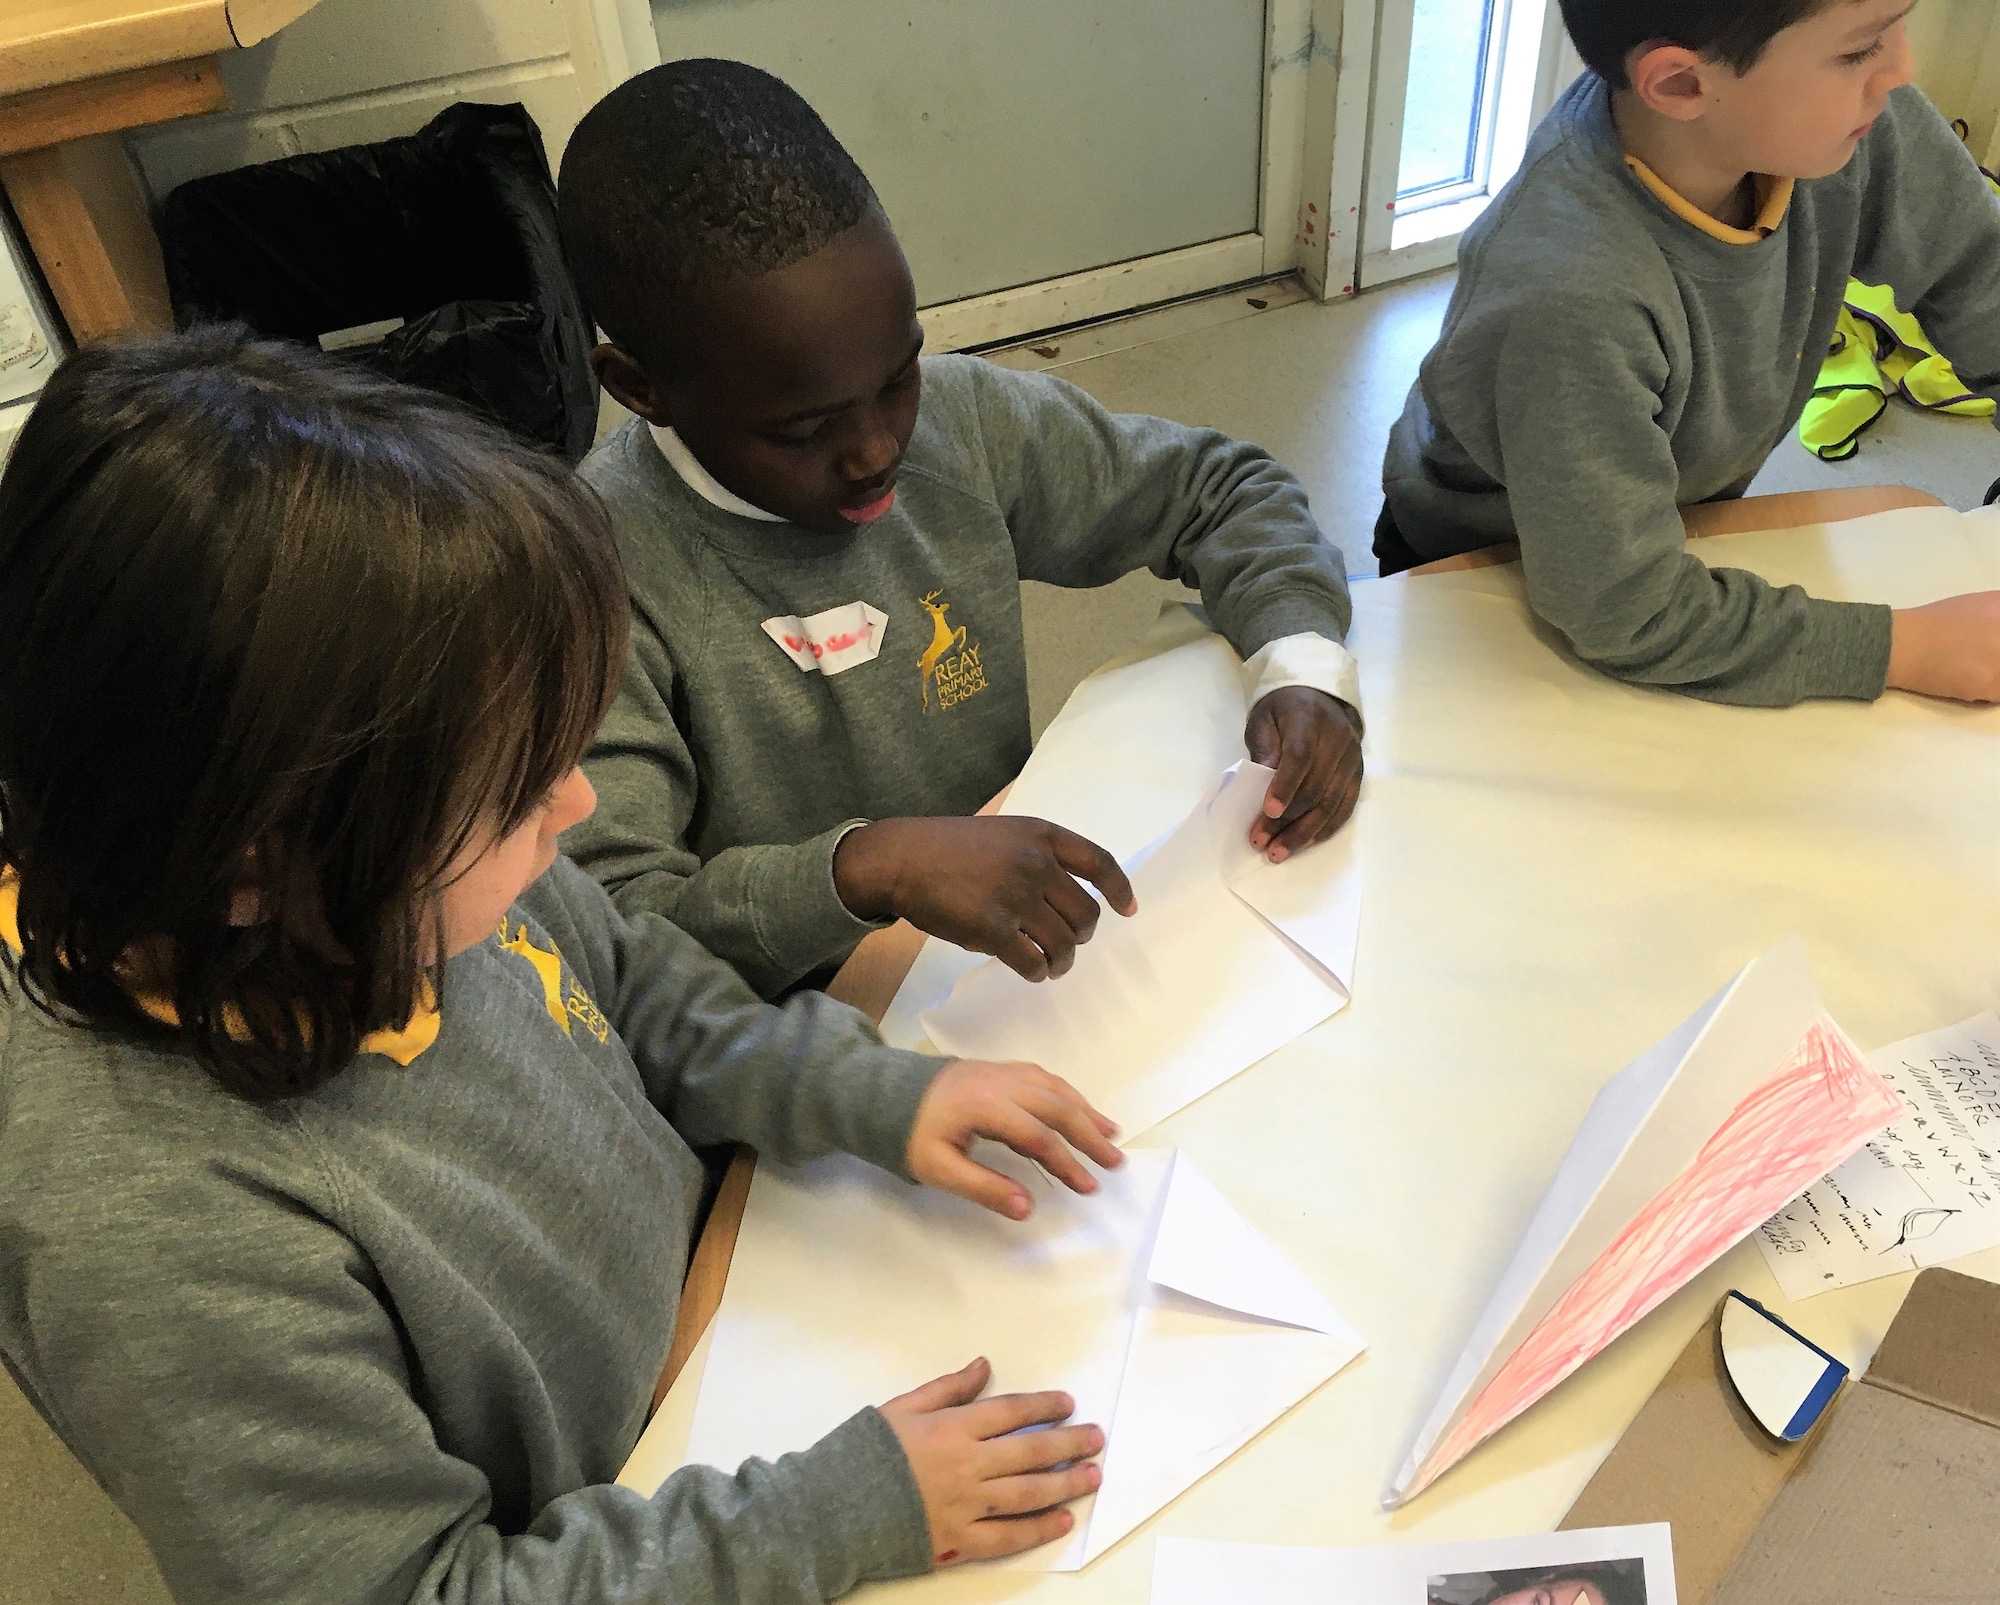
Folding and decorating paper aeroplanes!

Make a Simple Paper Aeroplane

You will need: 


  • Any paper of your choice, roughly A4 size

  • Coloured pencils or felt tips


Instructions: 


  1. Take you’re A4 paper and place it portrait way up. 

  2. Fold the left half to the right to make a crease in the centre. 

  3. Unfold the paper. 

  4. Fold both top corners to the centre crease. 

  5. Then, fold the new left and right corners to the centre. 

  6. Fold the plane in half from right to left. 

  7. Now, fold the left edge to the right to form the wing. Use your fingernail to make the tip as pointy as possible. 

  8. Turn your plane over and fold the other wing to line up with the first. 

  9. Unfold the wings. 

  10. Making sure the wings are tilted slightly upwards, hold it in the centre. It’s now ready to fly!

Before putting your plane into your time capsule, you could decorate it or write a message for whoever may find it in the future. 


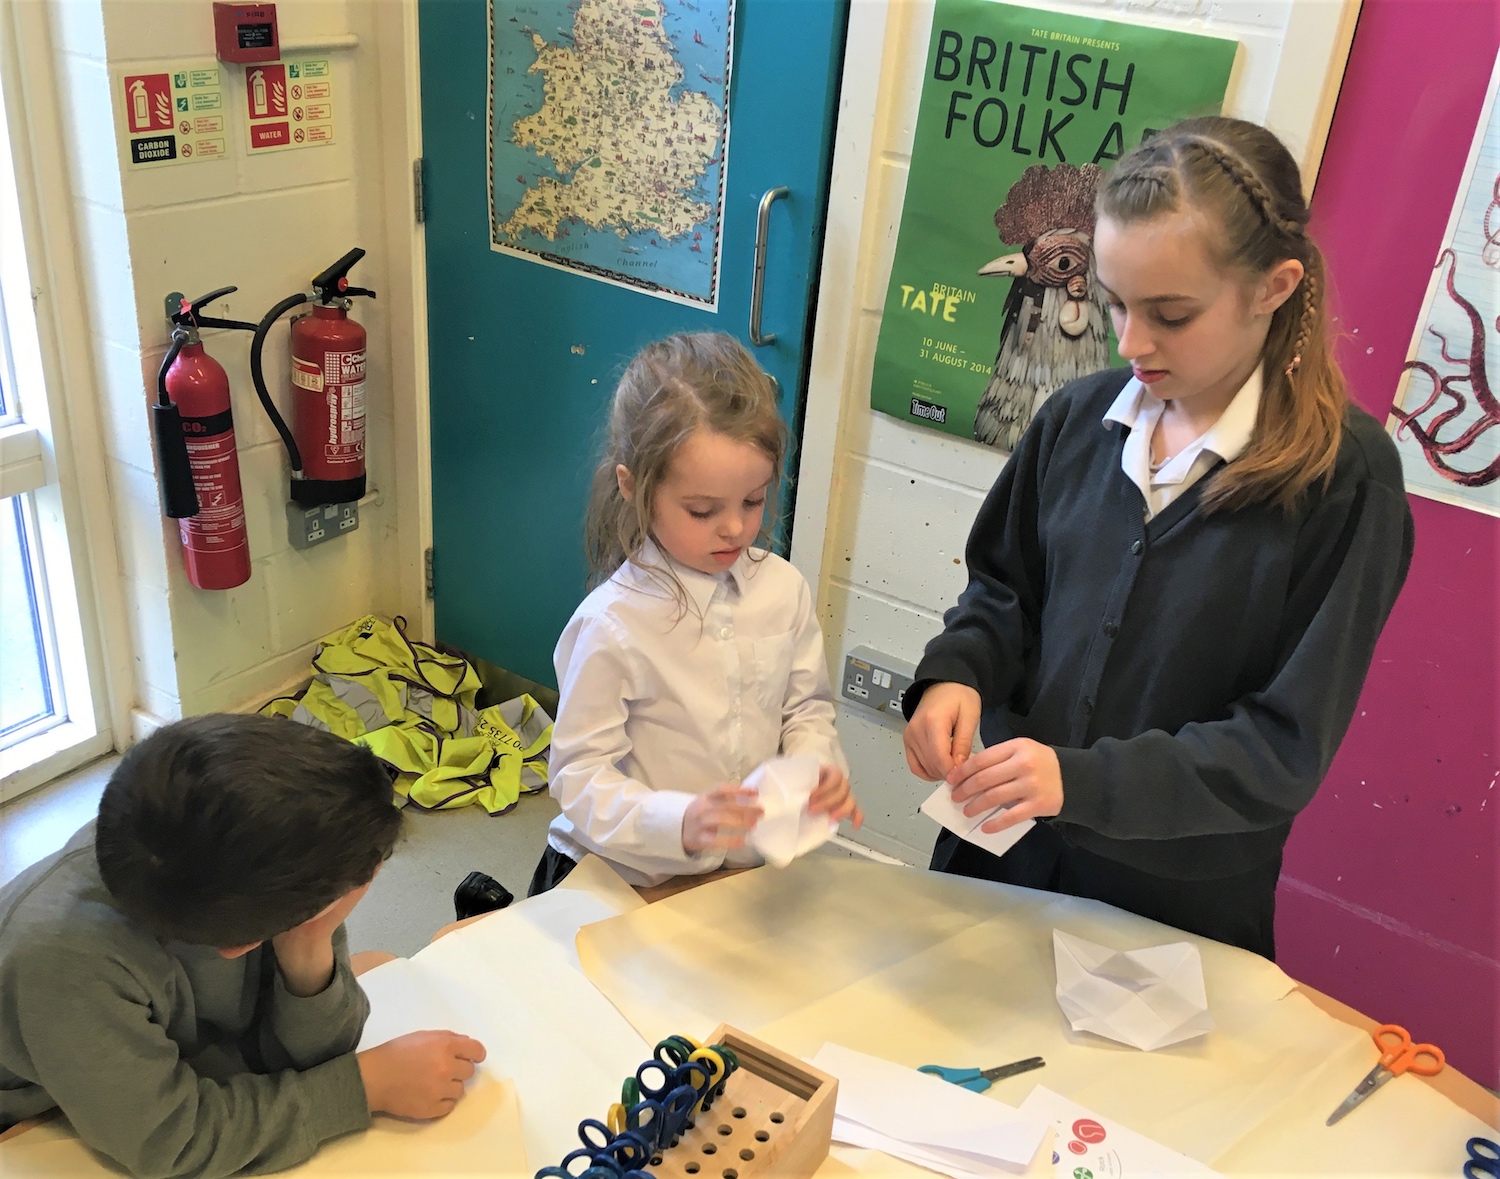
Year 6 helping year 1 make paper fortune tellers

Make a Paper Fortune Teller 

You will need: 


  • Any paper of your choice, cut into a square. 

  • Felt tips or coloured pencils. 


Instructions:


  1. Crease a square piece of paper diagonally from each corner. Fold the top right corner to touch the bottom left corner. Crease the fold with your finger and then unfold it so your sheet is flat again. Then take the top left corner and fold it over to the bottom right corner. Crease the fold with your fingernail before unfolding it again. 

  2. Now, fold the paper in half from each side. Bring the top edge of the paper to the bottom edge and crease the fold. Unfold the paper so it’s flat again and rotate it by 90 degrees. Fold the new top edge of the paper to the bottom to crease it and then flatten it out again. 

  3. Bring the corners to the centre of the paper. Start with one of the bottom corners and fold it into the middle of the paper where the creases intersect. Press down on the fold with a fingernail so it stays in place. Turn your paper 90 degrees and fold the other bottom corner toward the centre. Keep rotating and folding your paper until you’ve made a smaller square containing 4 triangles

  4. Flip the paper over and fold each corner to the centre again. Turn your paper over to the other side so you don’t see the folds. Take one of the corners and fold it toward the middle where the creases intersect. Press down on the fold with your finger. Now, fold each corner to the middle of the paper until you’ve made a smaller square. 

  5. Next, write the numbers  1-8 numbers in ascending order on each triangle. 

  6. Underneath each numbered flap, write a fortune e.g. ‘You will live a long life’ or ‘Pay a friend a compliment’. 

  7. Now, flip your fortune teller back over and give each of the four squares a different colour. 

  8. To play your fortune teller, turn it back over so that the numbers are facing upwards. Then, fold the top edge of the fortune teller down to the bottom edge so that two of your coloured squares are on top. 

  9. Slide your fingers underneath the squares to operate the fortune teller. You’re now ready to play!

Look at these small toys found in James Wigmore's stash! What animal do you think this little clay model is of?

Salt Dough Model Making


James Wigmore’s time capsule included tiny models of animals.  Which animals or other objects (perhaps a model of a favourite toy, game or food) would you like to make for future generations to find?


You could do this with clay if you have it to hand but alternatively, salt dough is a cheap and easy way to make models.


You will need:


  • 1 cupful of plain flour (about 250g)

  • Half a cupful of table salt (about 125g)

  • Half a cupful of water (about 125ml)


Instructions:


  1. Preheat the oven to it’s lowest setting and line a baking tray with parchment paper.

  2. Mix the flour and salt in a large bowl. Add the water and stir until it comes together into a ball.

  3. Transfer the dough to a floured work surface and use your rolling pin to roll out the dough evenly. It should be approximately 5mm thick.

  4. Now the fun begins! Transfer the dough to a floured work surface and shape it into your chosen model.  Try rolling, cutting, pinching and coiling. You can use forks and other utensils to make marks and add texture. To make eyes, roll tiny balls and once in place, press a sharp pencil into the middle. 

  5. Put your finished items on the lined baking sheet and bake on the middle shelf for 3 hrs or until solid.

  6. Leave to cool and then paint. Poster paints work well.

Assemble your

Tme Capsule

Finally, put all your handmade items into the time capsule shoe box.  All you need to do now is find a secret place in which to hide it!


For Families

Have you made a time capsule or even just some of the objects to go in it? Perhaps the activities inspired you to try out some a different ideas? We’d love to know how you got on. Please Send us a photo or any comments via our instagram, twitter or facebook using #vincentstreasures, or via our email info@vangoghhouse.co.uk

For Teachers

Curriculum Links: Literacy, Art & Design, History (The Victorians, social history, local history), Science (materials, recycling).

Suitable for KS1 and KS2.

Credits

Created by Lucy Hall,  Livia Wang and Janet Currier, with support from Oval Learning Cluster, The National Lottery Community Fund, Van Gogh House London and children and teachers from Reay Primary School.

© Van Gogh London 2021